Installing Microsoft Application Virtualization Desktop Client
Microsoft Application Virtualization Desktop Client (Requirements)

Microsoft Application Virtualization Desktop Client (Requirements)
· Windows 7 Professional, Enterprise, or Ultimate (32-bit or 64-bit)
· It is recommended that at least 6GB free hard disk space is available for caching virtualized applications.
Do this on the computer to be the App-V Client:
1. Extract and run the setup executable for Microsoft Application Virtualization Desktop Client.
2. The setup wizard will scan for and prompt you to install Microsoft C++ 2005 SP1 and 2008 SP1 Redistributable Packages and Microsoft Application Error Reporting if they are not installed.
3. In the InstallShield Wizard dialog box, click Install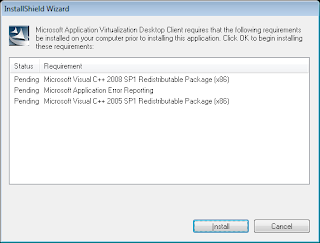
3. In the InstallShield Wizard dialog box, click Install

4. On the Welcome page, click Next.

5. Read and accept the license agreement, and then click Next.

6. On the Microsoft Update Opt In page, click Next.
7. On the Setup Type page, choose the Custom radio button, and then click Next.


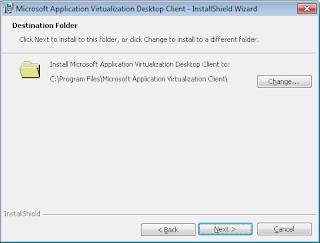
8. On the Destination Folder page, click Next.

9. On the Application Virtualization Data Location page, leave the default settings and click Next.


10. On the Cache Size Settings page, leave the default data storage setting and then click Next.


11. On the Runtime Package Policy Configuration page, leave the default settings and click Next.


12. On the Publishing Server page, select Set up a Publishing Server now.


13. In the Display Name box, enter the name of the server you have set up in the previous section. In the Host Name box, type the fully qualified domain name (FQDN) of the Application Virtualization Management Server.
14. In the Type drop-down list, select Application Virtualization Server.
15. In the Port box, ensure that port 554 is selected.
16. Leave the Automatically contact this server to update settings when a user logs in check box selected, and then click Next.
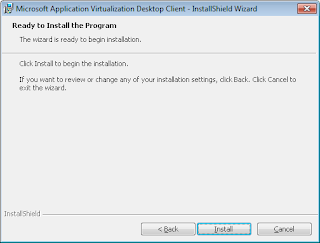
17. Click Install to begin the installation of the Microsoft Application Virtualization Desktop Client.


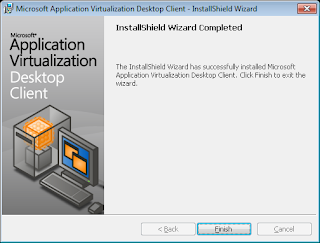
18. When the installation is complete, click Finish.
19. Log off of the client computer.
Testing the Default Application
Testing the Default Application
Do this on the App-V Client:
1. Log on as a user who is a member of the Application Virtualization Users group you created called “AppV Users.”
2. On the desktop, double-click the Default Application Virtualization Application shortcut.
A status bar, displayed above the Windows notification area, reports that the application is launching. If a "Launch Failed" message displays, click the message to see more information about the error. After a successful launch, the title screen for the Default Application displays.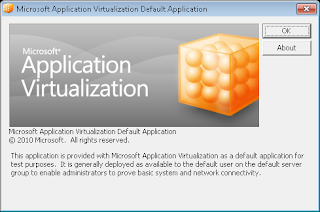
3. Click OK to close the dialog box.

3. Click OK to close the dialog box.


No comments:
Post a Comment