Install the
server side hotfix (KB977384) (included in the dowload of the R3 media) .This
hotfix, which comes with the R3 of SCCM 2007, is a prerequisite for SCCM 2007
R3. During the installation it also creates a SCCM Package/Program containing a
MSP file allowing to update SCCM Advanced Clients Components. This client
hotfix package has to be deployed to all ConfigMgr 2007 SP2 clients before
power policies can be managed.
Click “Next”to continue.
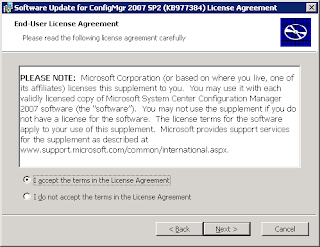
Click “I accept …”to continue and select “Next”to continue.
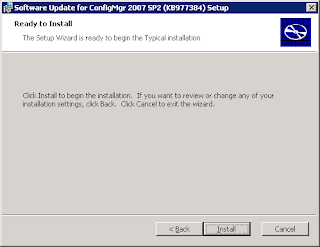
Click the Install” button.
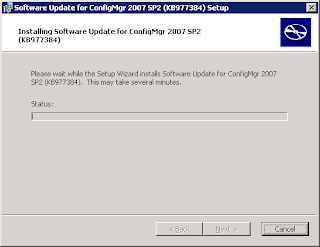
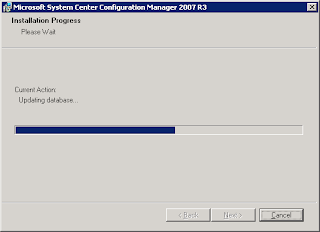
The Hotfix starts to install.
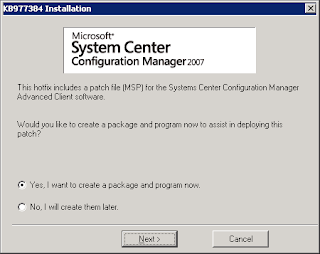
It will prompt you to create a Package & Program for later deployment to your Configmgr 2007 SP2 clients.
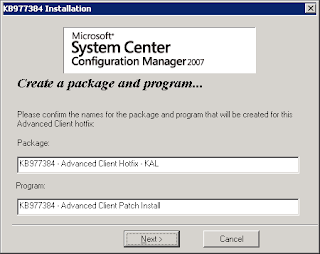
During the installation process, when prompted to create a software distribution package for client hotfix deployment, Provide a name for the ConfigMgr package & Program. This client hotfix package has to be deployed to all ConfigMgr SP2 clients in the environment before their power policies can be managed
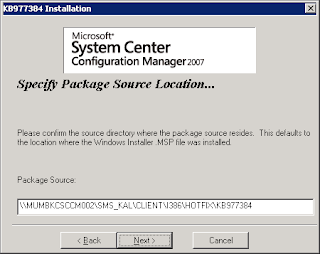
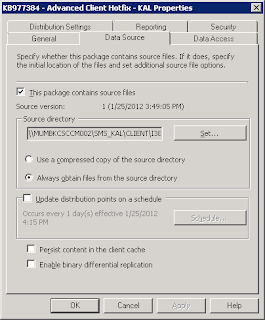
Specify the package source & click “Next” to continue.
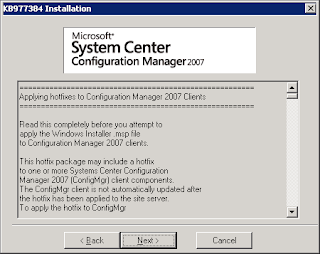
Click “Next” to continue.
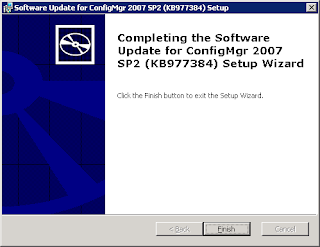
Click “Finish” to exit.
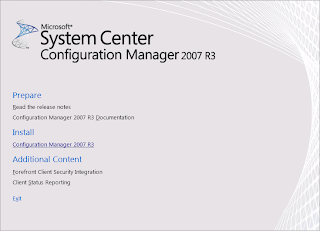
Insert SCCM 2007 R3 CD and select Install.
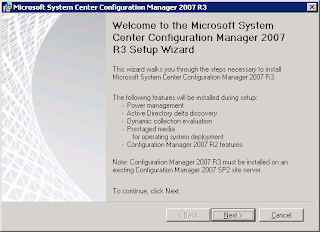
Click “Next” to continue.
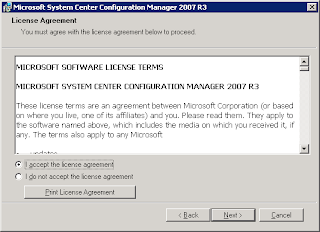
Accept the license agreement and Click “Next” to continue.
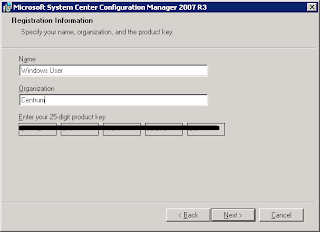
Click “Next” to continue.
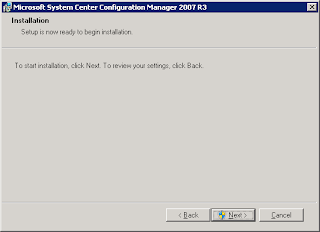
Click “Next” to continue.
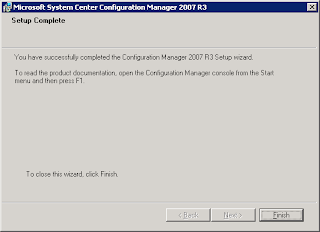
Click “Finish” to exit.
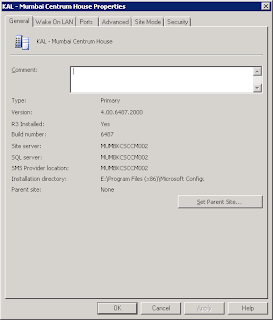
Open SCCM Console & navigate to Site Database – Site Management - - and view properties to confirm that R3 Installed is “Yes” as shown below

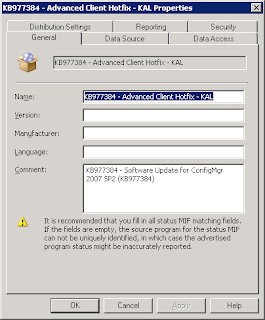
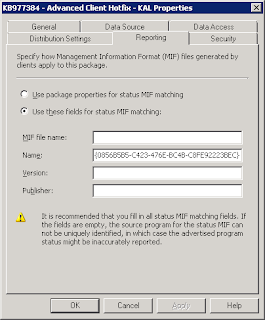
Review the Package properties as shown below.

After the R3 installation is completed on the site server, the next step is to deploy R3 hotfix to all SP2 clients to use all R3 features.Look for the Client hotfix package & program that where created during installation and must be available under ‘Software Distribution’ and then look for the Packages Node.
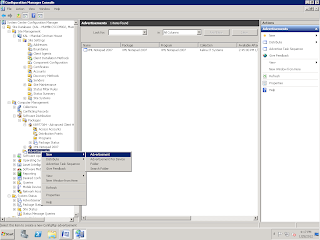
Navigate to Site (KAL)> Computer Management>Software Distribution>Advertisements. Right click and select new advertisement.
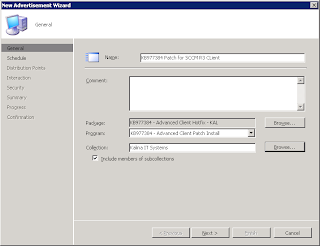
In the General tab of the new advertisement wizard, provide the name and click on Browse to select a package. Select the package created for Office 2010 and click OK.
Click on Browse to assign a collection.
Click on Next to continue after providing all details as shown above.
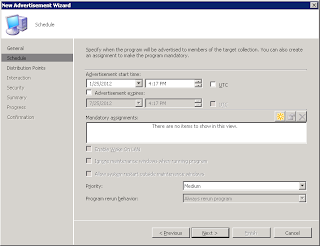
Provide a schedule for the deployment of the package. Click on the star
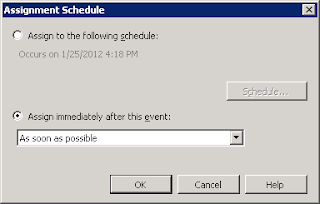
Select As soon as Possible and Click OK.
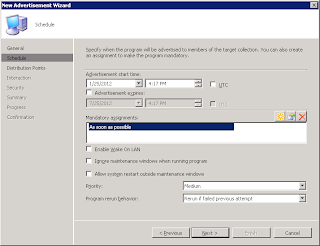
Depending upon the requirement, set the ‘Priority’ and ‘Program rerun behaviour’ options as shown above.
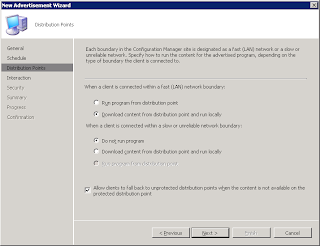
Select the option ‘Download content from distribution point and run locally’ and ‘Do not run program’ if the if the client is connected to a slow link. Then click on Next to continue.
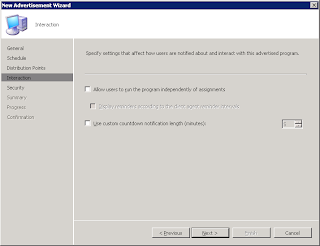
Do not select any options and click on Next.
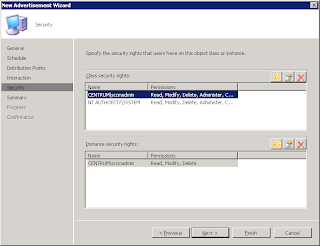
Keep default settings in Security page and click on Next.
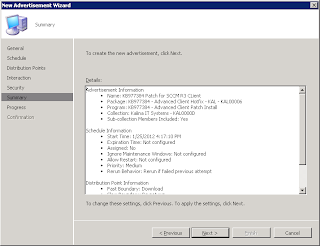
Click on Next in the summary window.
Click “Next”to continue.


Click “I accept …”to continue and select “Next”to continue.

Click the Install” button.

The Hotfix starts to install.

It will prompt you to create a Package & Program for later deployment to your Configmgr 2007 SP2 clients.

During the installation process, when prompted to create a software distribution package for client hotfix deployment, Provide a name for the ConfigMgr package & Program. This client hotfix package has to be deployed to all ConfigMgr SP2 clients in the environment before their power policies can be managed

Specify the package source & click “Next” to continue.

Click “Next” to continue.

Click “Finish” to exit.

Insert SCCM 2007 R3 CD and select Install.

Click “Next” to continue.

Accept the license agreement and Click “Next” to continue.

Click “Next” to continue.

Click “Next” to continue.


Click “Finish” to exit.

Open SCCM Console & navigate to Site Database – Site Management - - and view properties to confirm that R3 Installed is “Yes” as shown below
Go to Software Distribution ->
Packages and verify that Advanced Client Hotfix is created as shown below.

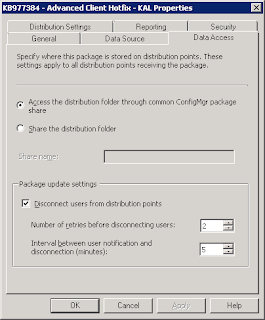
Review the Package properties as shown below.


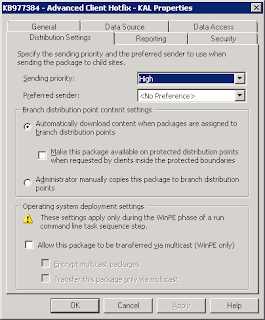
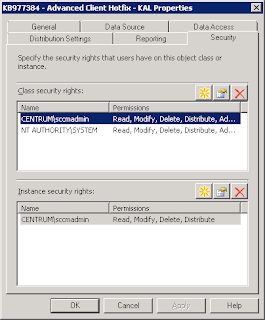
Also Review the
Program properties as below.

Create
Distribution point for the Package as below.

After the R3 installation is completed on the site server, the next step is to deploy R3 hotfix to all SP2 clients to use all R3 features.Look for the Client hotfix package & program that where created during installation and must be available under ‘Software Distribution’ and then look for the Packages Node.

Navigate to Site (KAL)> Computer Management>Software Distribution>Advertisements. Right click and select new advertisement.

In the General tab of the new advertisement wizard, provide the name and click on Browse to select a package. Select the package created for Office 2010 and click OK.
Click on Browse to assign a collection.
Click on Next to continue after providing all details as shown above.

Provide a schedule for the deployment of the package. Click on the star

Select As soon as Possible and Click OK.

Depending upon the requirement, set the ‘Priority’ and ‘Program rerun behaviour’ options as shown above.

Select the option ‘Download content from distribution point and run locally’ and ‘Do not run program’ if the if the client is connected to a slow link. Then click on Next to continue.

Do not select any options and click on Next.

Keep default settings in Security page and click on Next.

Click on Next in the summary window.

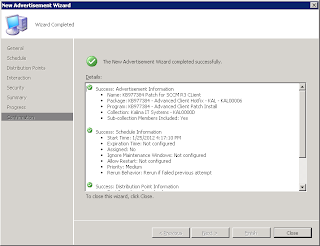
Click on Close to complete the
advertisement wizard.
The client machines will start receiving
the program at the specified schedule in the advertisement.


No comments:
Post a Comment